Add a Dim Break to a Multileader
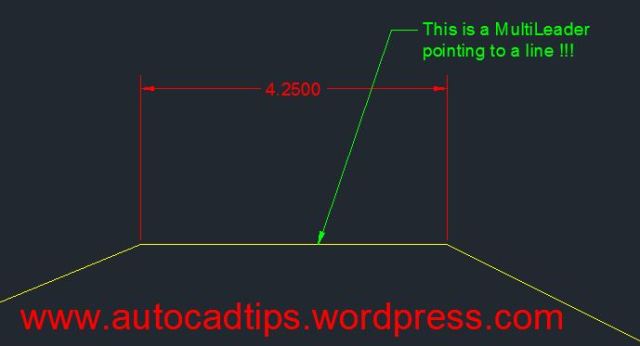
I was reading my company standards and came across an outdated-yet-common method of modifying multileader objects for clarity. The process is to explode the multileader and then trim the leader line where it crosses dimensions so as to not be confused as an object line or a part of the dimension.
Don’t explode!!! you can add a “dimension break” to multileader objects. The DIMBREAK command also works for MLeaders – it does not work on the older Leader or QLeader objects…
Click here to learn how to apply a DIMBREAK to dimensions.
Click Here to learn how to remove DIMBREAKS from objects.
Here’s how:
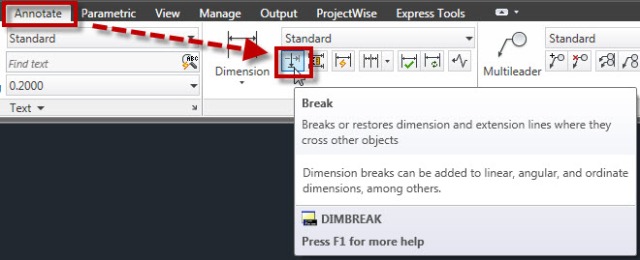
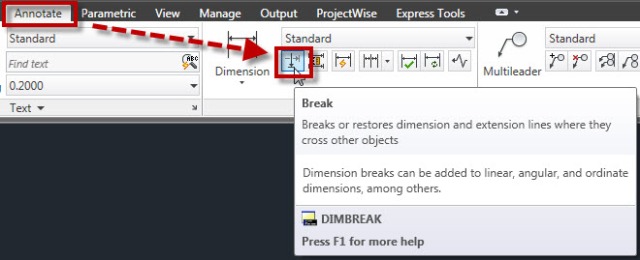
- Click the “Break” tool that is located on the “Annotate” tab > “Dimensions” panel
OR
- DIMBREAK <enter> to start
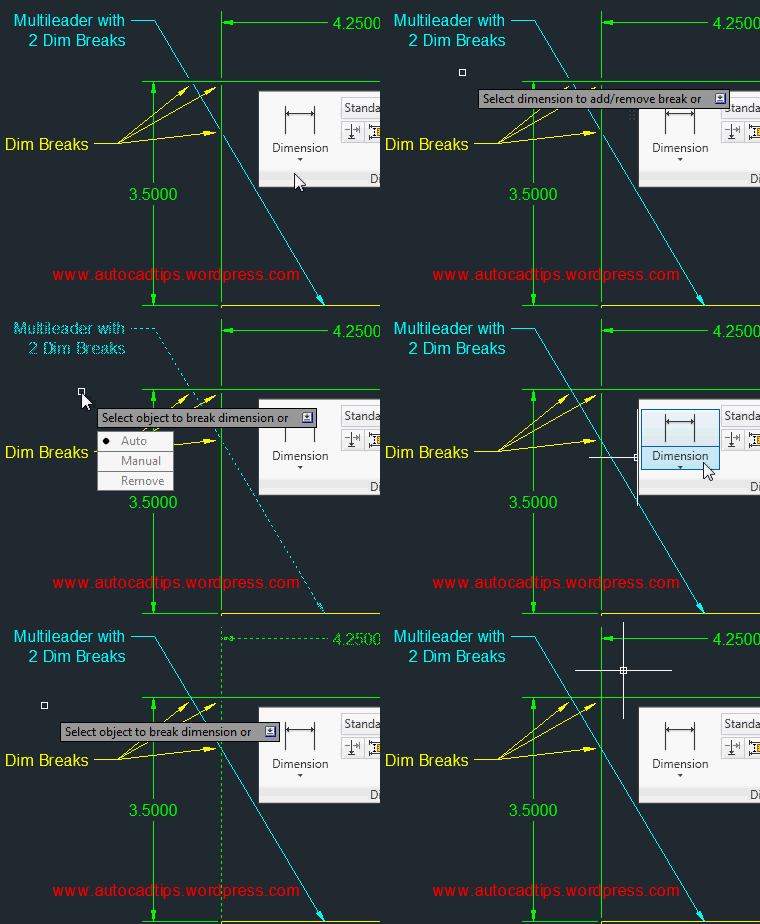
- Select the Multileader to which you want the dimbreak applied.
- Select the dimension that crosses the multileader. the intersection where these 2 objects meet is where the break will be applied.
Note: Multiple breaks can be applied to a single leader.
출처 : http://autocadtips.wordpress.com/2012/05/23/add-a-dim-break-to-a-multileader/
'Lisp & Tips > Tip' 카테고리의 다른 글
| 오토캐드 2008 에서 DWG To PDF 출력시 종이 중심에서 어긋나는 문제 해결 (0) | 2014.09.10 |
|---|---|
| PDF 레이어 생성하기 (0) | 2014.09.08 |
| 트림없이 필렛 또는 챔퍼 (0) | 2014.09.08 |
| 오토캐드 2015 시작화면 삭제하기 (2) | 2014.07.15 |
| 건축에서 자주 사용하는 특수문자 입력 (8) | 2014.02.02 |


